Key Steps for a Proper Roof-to-Wall Seal During Opening Work
How Roof and Wall Intersections Affect the Quality of an Opening Seal
When you add a new opening in an exterior wall, the work does not end with the frame and glass. The point where the roof meets that wall is one of the most vulnerable spots on a building. Water that runs down the roof surface hits the wall and, without the right detailing, can seep behind the trim and into the structure. Getting this intersection right matters whether you are working on a residential addition or a commercial renovation.
Many property owners focus on the visible parts of the work: the trim, the glass, the hardware. Yet the long-term performance of any opening depends on what happens at the seam between the roof and the wall. This is where flashing, sealant, and proper drainage come together. A small mistake here can lead to rot, mold, and costly interior damage over time.
Understanding the role of roof flashing at the wall
Roof flashing is a thin, corrosion-resistant material that directs water away from the joint where the roof meets the wall. It is typically made from metal or a durable composite. The flashing extends up the wall behind the siding or cladding and laps over the roofing material below. This creates a continuous barrier that prevents water from running down the wall and into the roof deck.
For openings in a wall that is adjacent to a roof slope, the flashing must be integrated with the window or door frame. The drip cap, a small metal or plastic piece mounted above the opening, works with the flashing to shed water outward. Without a proper drip cap, water can collect on the top of the frame and eventually work its way inside.
How weather barriers tie the system together
A weather barrier is a layer of water-resistant material installed behind the exterior cladding. It wraps the entire wall and is cut and taped around openings. When roof flashing is installed, it must overlap the weather barrier so that any water that gets behind the cladding is directed to the outside. If the flashing is installed behind the weather barrier, water can be trapped inside the wall cavity.
The sequence of installation matters. The weather barrier goes on first, then the flashing is placed so that it laps over the barrier. The cladding or siding goes on last, covering the flashing. This sequence is standard in professional building practice, but it is sometimes overlooked in faster jobs.

Critical details for the sill and the pan
The bottom of any opening is the most common place for leaks. A sill pan is a pre-formed metal or plastic tray that sits under the frame and slopes toward the outside. It catches any water that penetrates the frame and directs it out. Without a sill pan, water that gets past the sealant or gaskets can run into the wall cavity and cause damage below.
The pan must be installed with a slight slope, usually about one-quarter inch per foot, so that water does not pool. The ends of the pan should be turned up so that water cannot spill out the sides. This is a small detail that makes a large difference over the life of the opening.
Fastener spacing in the pan and the surrounding trim is another detail that is often done incorrectly. Fasteners that are too far apart can allow the pan to sag, breaking the slope. Fasteners that are too close can create stress points that crack the pan material. Following the manufacturer's recommendations for fastener spacing is essential.
Sealant choices and application
Sealant is used at every joint where two different materials meet. The choice of sealant depends on the materials being joined and the exposure to sunlight and temperature changes. For most roof-to-wall intersections, a high-quality polyurethane or hybrid sealant works well. Silicone sealants are also common, but they do not bond well to some plastics and may require a primer.
The application method matters as much as the product. A bead of sealant that is too thin can tear under movement. A bead that is too thick can trap air and create channels for water. Most professionals tool the sealant into the joint with a small tool or a wet finger, forcing it into the gap and removing excess. This creates a smooth, concave surface that sheds water and allows the sealant to flex with the building.
One common mistake is applying sealant over dirty or wet surfaces. The area must be clean and dry for the sealant to adhere. Even a thin layer of dust or moisture can cause the bond to fail within a year.
Where the work meets the roof plane
When the roof slope runs directly into the wall above an opening, the roof-to-wall intersection requires special attention. The flashing must extend up the wall at least six inches above the roof surface, and sometimes more depending on the roof pitch. The top edge of the flashing is embedded into a reglet or a groove cut into the wall, then sealed. This method is called a reglet installation, and it is the most reliable way to prevent water from getting behind the flashing.
For openings that are close to the roof edge, a cricket or saddle is sometimes built behind the opening to divert water around it. A cricket is a small, sloped structure on the roof that directs water away from the wall. This is more common on commercial roofs but can be used on residential projects where the roof slope is shallow.
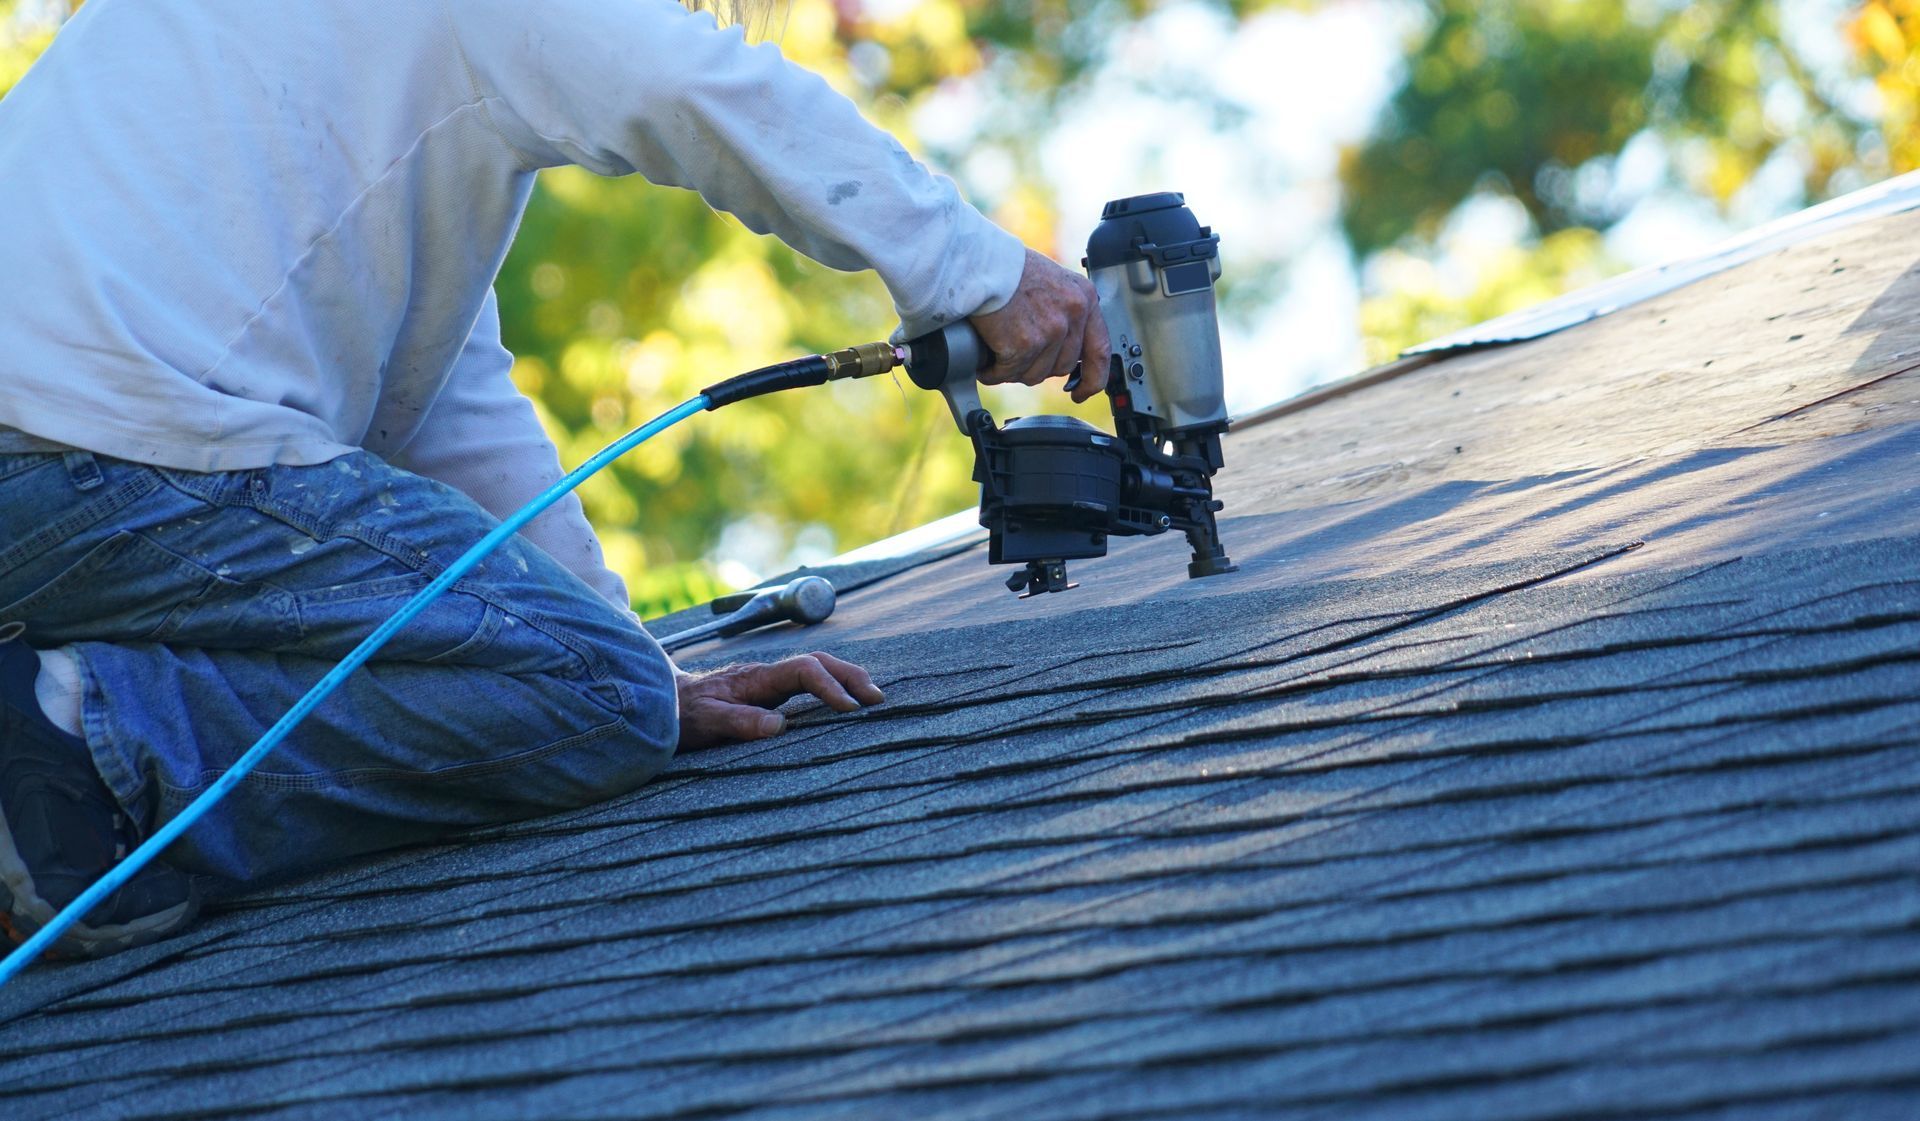
The trim coil, which is the metal or plastic wrap that covers the frame, must be compatible with the flashing material. Dissimilar metals can cause galvanic corrosion over time. For example, aluminum trim coil in contact with copper flashing will corrode quickly. Stainless steel or painted metals are safer choices in mixed-material assemblies.
Common oversights during installation
Even experienced crews can miss important steps. Here are a few issues that show up often:
- Leaving gaps in the weather barrier around the opening where air and water can pass through.
- Installing the drip cap without a proper slope so water pools on top of the frame.
- Forgetting to install a sill pan or using a pan that is too small for the opening.
- Sealing the bottom of the frame without providing a weep path for drainage, which traps water inside.
- Using the wrong type or size of fastener for the flashing, which can loosen over time.
Each of these issues can lead to a leak that is difficult to trace because the water entry point is hidden behind the cladding. The best approach is to inspect each detail as it is installed, not just at the final walk-through.
A proper window installation involves coordinating these elements so that the entire system works together. It is not a single step but a sequence of careful decisions about materials, orientation, and sealing. When the roof-to-wall intersection is handled well, the rest of the structure stays dry and stable for many years.
Planning ahead for long-term performance
Before any work begins, it helps to review the building's exposure. A wall that faces prevailing wind-driven rain needs more robust flashing and sealant details than a sheltered wall. The roof pitch also plays a role: a steep roof sheds water quickly, while a low-slope roof allows water to pond and increases the risk of capillary action drawing water up behind the flashing.
The choice of materials should account for the local climate. In areas with freeze-thaw cycles, sealants must remain flexible at low temperatures. In hot, sunny climates, UV-resistant sealants and light-colored flashings reduce heat buildup. These factors influence how long the installation will last before needing maintenance.
For commercial buildings, the stakes are higher because the cost of a leak can be multiplied by the size of the roof and the value of the interior equipment. A small opening in a large wall can still cause major damage if the roof-to-wall seal fails. The same principles apply, but the scale demands more thorough planning and inspection.
In both residential and commercial work, the goal is the same: create a continuous barrier that keeps water on the outside. Every component, from the flashing to the sealant to the drip cap, plays a part. When one piece is missing or installed poorly, the whole system is compromised.
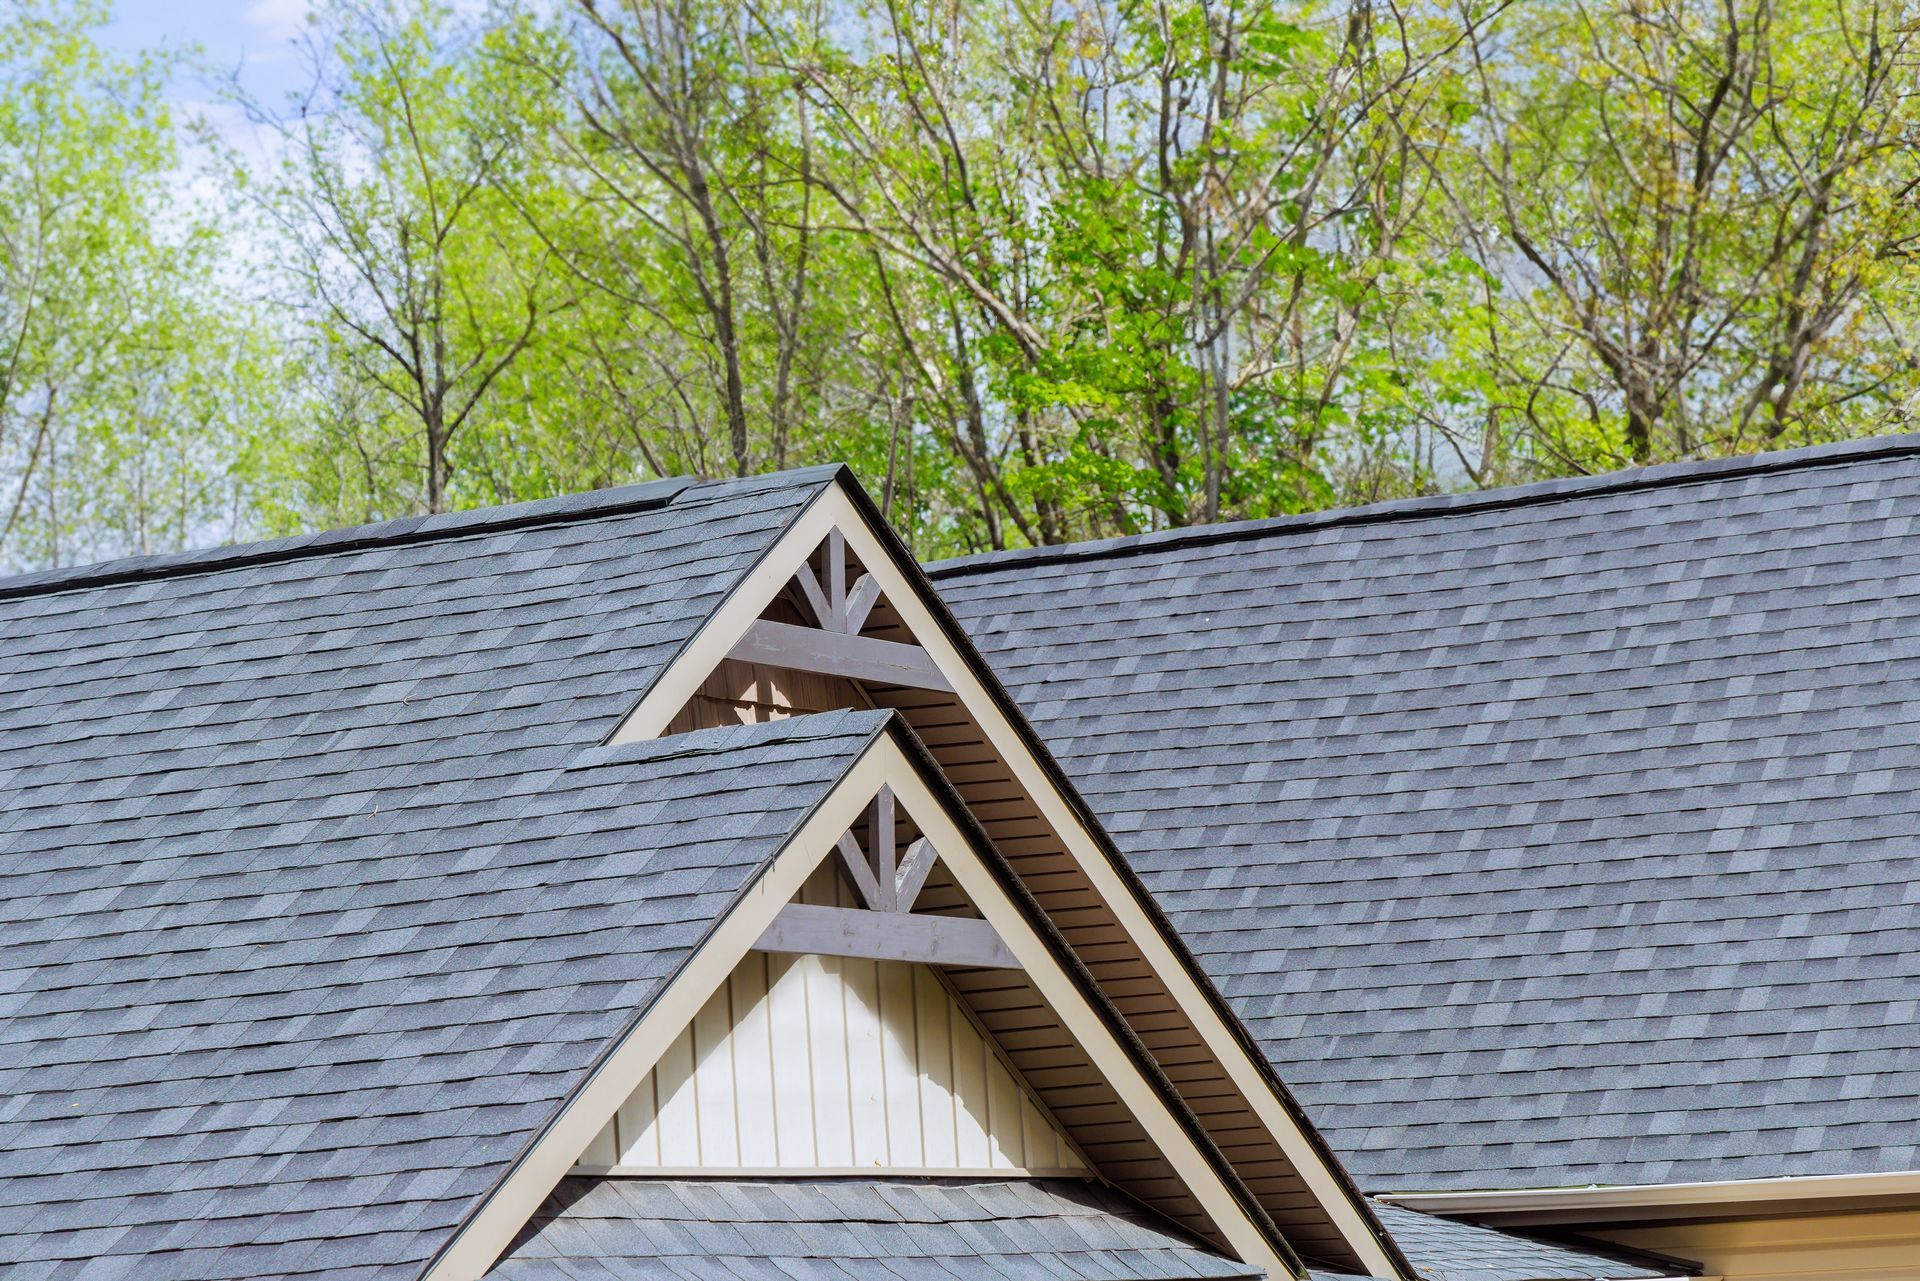
Taking the time to get these details right during the initial work saves money and frustration later. It also adds to the building's durability and energy efficiency, since a dry wall cavity performs better as insulation. The effort is small compared to the cost of repairing water damage.
For anyone planning this type of work, understanding these connections helps in communicating with the crew and in evaluating the finished job. It is not necessary to be an expert in every step, but knowing what to look for can prevent problems down the road.
The roof-to-wall intersection is a small part of a building's envelope, but it has an outsized impact on the building's health. A careful approach to this area, combined with attention to the rest of the opening details, produces a result that stands up to weather and time.